T minus 2 months until ski season! Now that your dryland conditioning plan is all dialed in, it’s time to get your ski racing equipment prepped for ski season. Like a chef’s knives, your skis are your primary tool. If you take care of them, they let the rest of your ski skills shine through. Whether taking a pair of skis out of the wrapper or tuning your tried and true pair for another season, follow along to prepare your skis for the season.
1. Grind Ski Bases and Set Edge Bevels
Start with a blank slate! It is essential to start the season and your ski tuning with a flat ski. Over time, the bases of your race skis warp. Spring and summer snow can be tough on your bases. A true bar can show if the base of your ski has become concave or convex. Unfortunately, you can’t fix warped bases at home. Take your skis to your local ski shop and ask for a base grind. Have the ski shop set your base and edge bevels simultaneously to make the rest of ski tuning easy. Got new skis and think you get to skip this step? Wrong. Grinding skis is the only way to set the base bevel, and bevels vary wildly coming out of the factory.
Wondering what to set your bevels to? For tech skis (SL and GS), use a .5-degree base bevel and a 3-degree side bevel. For speed skis (SG and DH), use a 1-degree base bevel and a 3-degree side bevel.
Personal sidebar: once, after a miscommunication with my local ski shop, I thought my new GS skis had been base ground when, in fact, they had not. After struggling to feel okay on my skis for the first week of the season, I used my coach’s base bevel measurement tool and found that I was rocking a 2-degree base bevel. I got them ground, had the bevels set, and was instantly feeling comfortable and confident on GS skis once again.
2. Pull Sidewall
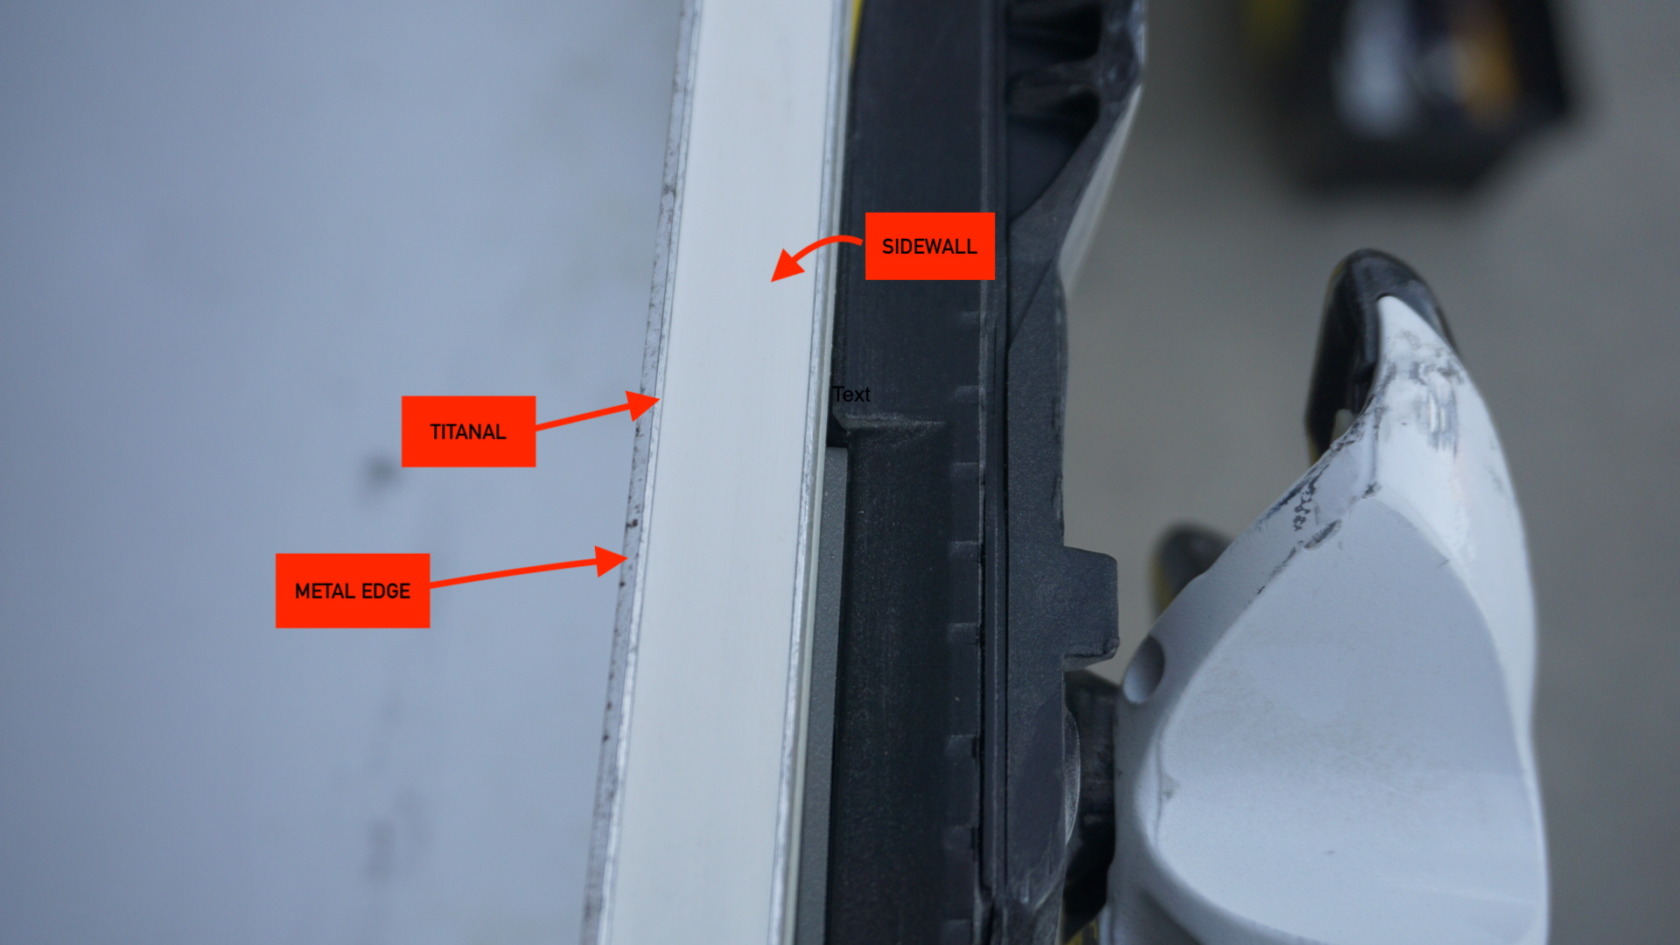
Your skis are ground, bevels are set, and it is time to rock and roll… on your home ski tuning bench. We can’t forget to pull sidewall! This is important because as you sharpen your skis from the side, the metal edge is slowly pulled away. If the plastic sidewall stays, it will push your file guide up, changing your side bevel, leading to dull skis and frustration when trying to sharpen them. Most race skis have a thin layer of titanal above the edge metal, and this soft metal will pull away when using a sidewall tool. Make sure to pull this too. You’ll know you’ve done it right when that titanal layer looks extra shiny. This is something you should continue doing throughout the season.
3. Polish your sidewalls
Because you are a total ripper, who lays your skis up on edge, skiing arc to arc, you spend a lot of time on the sides of your skis. It’s best practice in ski tuning to polish your sidewalls. Especially after removing sidewall, there can be some rough spots left behind by the sidewall remover. Use a piece of 60-120 grit sandpaper to smooth out the rough spots, and finish with a finer sandpaper, like a 300 grit.
4. Sharpen your edges
Sharpen your edges to 3-degrees using a file guide, a medium cut file, a medium grit diamond stone, and a fine grit diamond stone. Begin with the medium grit diamond stone, running it evenly over the edge to smooth out any bigger burrs. Next, run the file over the edge in sections, then again over the length of the ski to be sure it is even. You should be able to see a consistent texture all across the edge, both length and width wise. If you’re having trouble seeing if you got the whole ski, you can use a marker to color over the edge and see if it pulls away. Finish with a few passes over the edge with a fine grit diamond stone to smooth the edge. After you’ve sharpened the edges, with the ski still sideways, pass a fine ceramic stone on the base side of the edge to take away any hanger edge that may have pushed over working on the side.
5. Wax your almost tuned skis
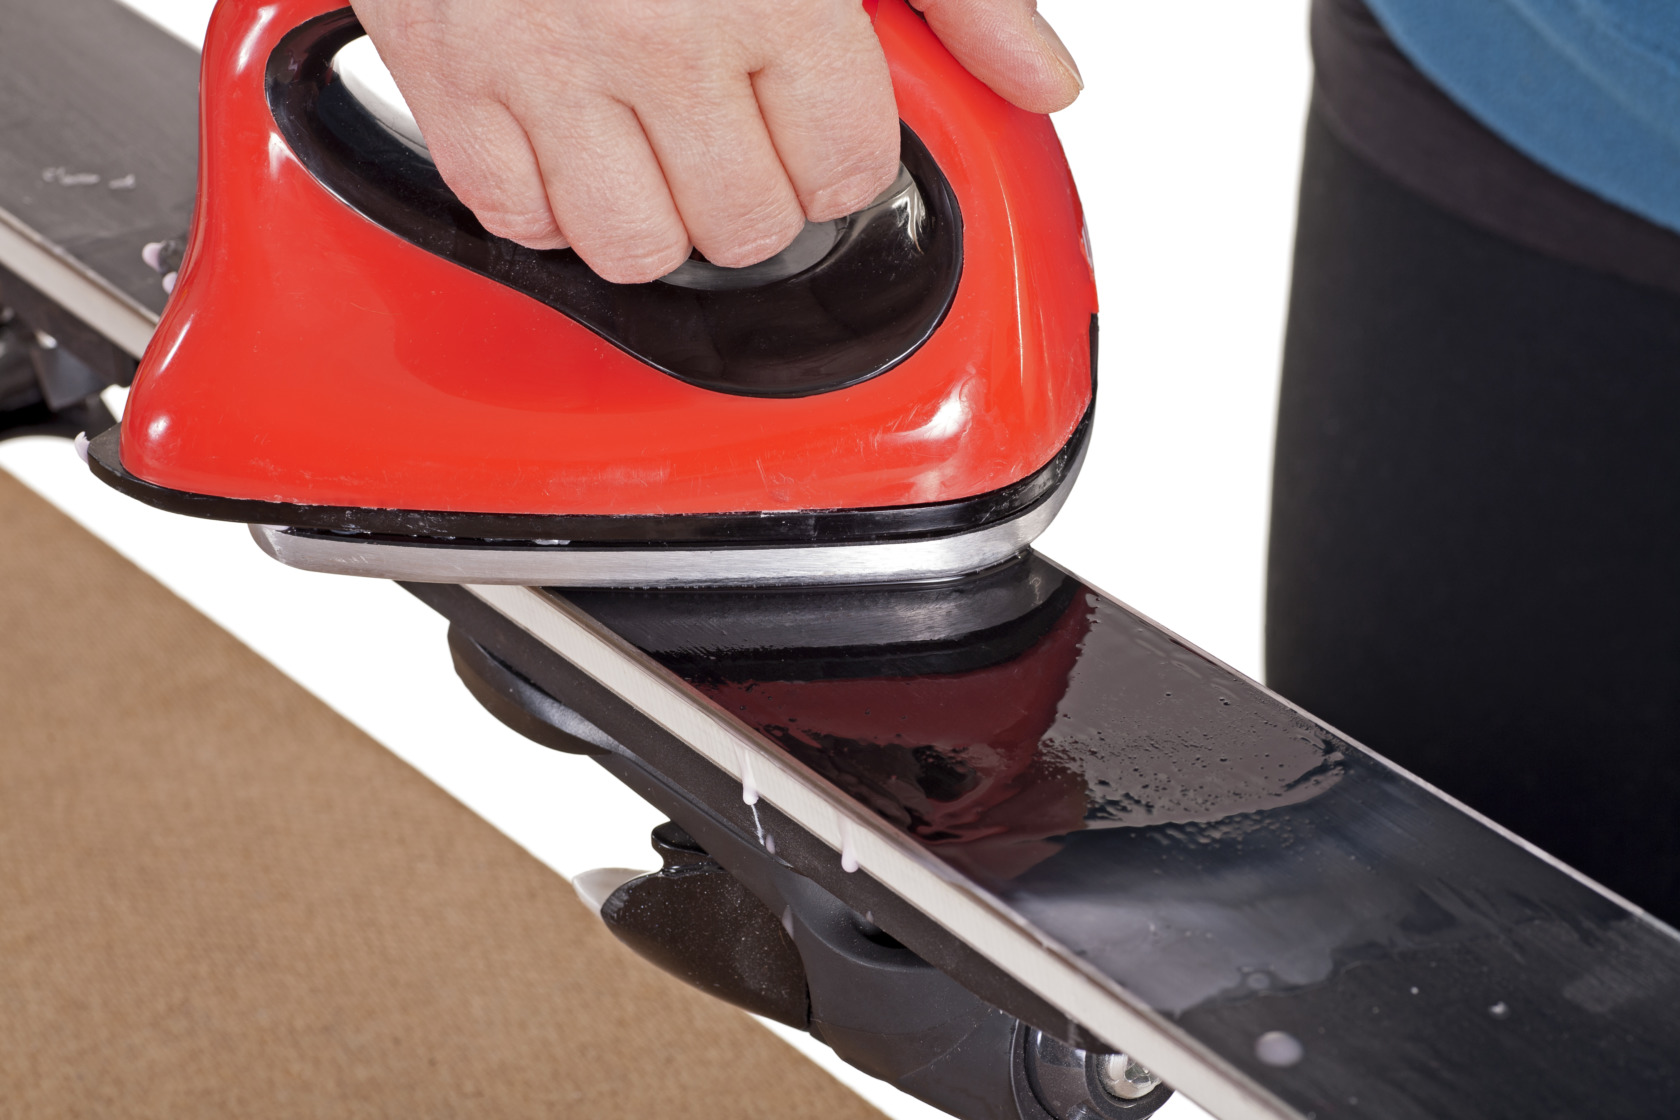
Next, wipe down the base of your ski with a microfiber rag to make sure that all the metal shavings are removed. Drip enough wax on your skis that the iron isn’t directly touching the base as the wax melts, but not so much that wax-waterfalls are running down your sidewalls. We recommend a conditioning wax that sits and deep conditions your skis until you’re ready to go skiing.
Bonus points if you do wax cycles! Ski bases become faster the more wax cycles you put in them. Here’s how it works: wax your skis, then let them sit for at least a day in a warm space (read: inside your house, not out in the cold garage). Scrape your skis, then brush with both a bronze and horsehair brush to fully remove loose wax from the past layer. Wax them again, and repeat. This isn’t as beneficial for slalom skis, but a few cycles for GS skis speed skis will definitely pay off.
Booyeah! Those skis are ready to rip. Coming up next in our pre-ski season ski tuning series: boots and boot fitting.
PS: Speaking of pre season ski racing prep… do you have your Down Packet Jacket yet? Get one before they’re sold out!


Leave a Comment
You must be logged in to post a comment.